If you’re on the hunt for a unique and delightful gift or centerpiece, look no further than the charming world of DIY Lollipop Bouquets! These sweet and stylish creations not only satisfy your sweet tooth but also add a burst of color and joy to any occasion. In this guide, we’ll walk you through the steps to craft your own stunning lollipop bouquet using the delectable Yummy Lix Lollipops.

Materials Needed:
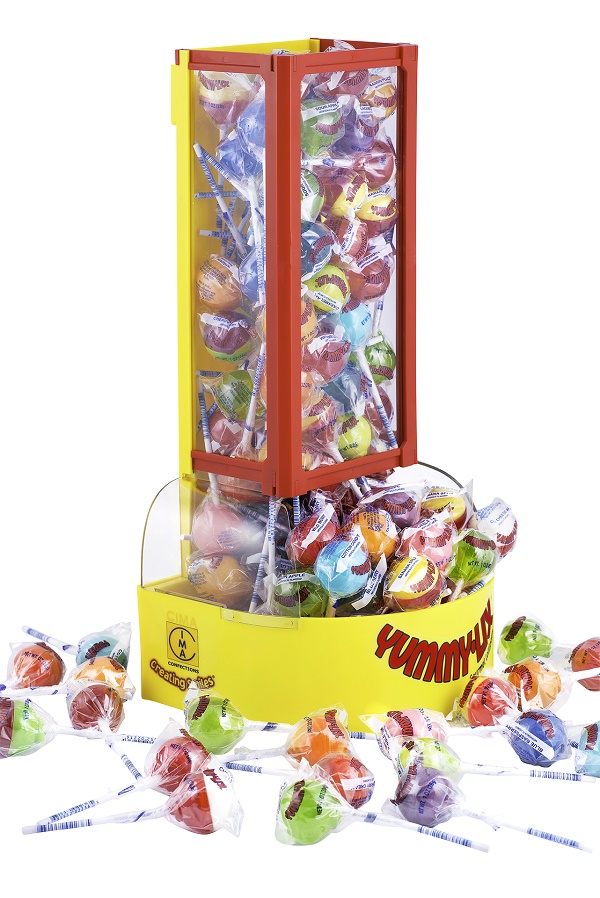
- Yummy Lix Lollipops:
- Select a variety of flavors and colors to add vibrancy to your bouquet.
- Floral Foam:
- Provides a sturdy base for your bouquet.
- Decorative Container:
- Choose a container that complements the theme or occasion.
- Ribbon or Tissue Paper:
- Adds a finishing touch to your bouquet.
- Scissors:
- For cutting and shaping materials.
- Craft Paper or Gift Wrapping Paper:
- Optional for decorating the container.
Step-by-Step Instructions:
Step 1: Prepare the Container
Start by decorating your chosen container. Wrap it in craft paper or gift wrapping paper that aligns with the occasion or theme. This step adds a personalized touch to your lollipop bouquet.
Step 2: Insert the Floral Foam
Place the floral foam snugly into the container, ensuring it fits securely. The foam will provide stability and support for arranging the lollipops.
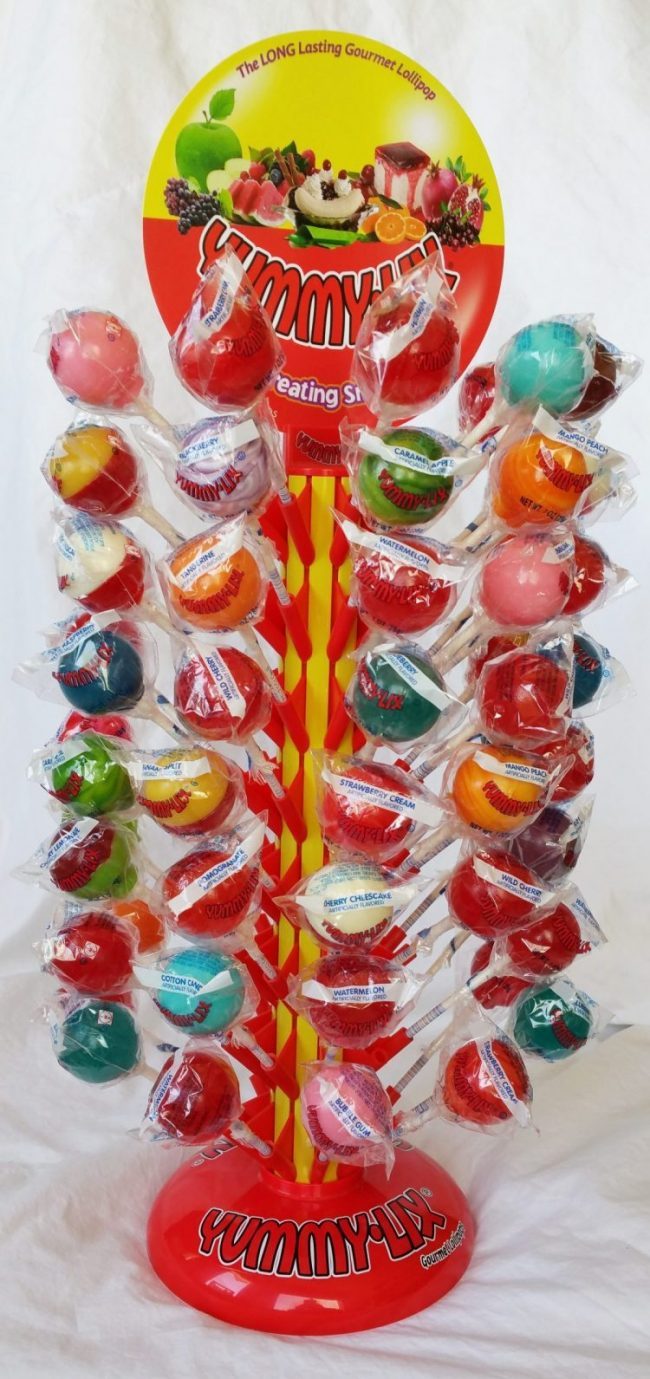
Step 3: Arrange the Lollipops
Begin arranging the Yummy Lix Lollipops in the foam. Insert each lollipop stick into the foam at varying heights to create a visually appealing and dynamic arrangement. Mix and match colors for a playful and eye-catching effect.
Step 4: Create a Balanced Bouquet
As you arrange the lollipops, step back occasionally to ensure a balanced distribution of colors and heights. Adjust the positioning until you achieve a well-rounded and aesthetically pleasing bouquet.
Step 5: Add Decorative Touches
Tie a ribbon around the base of the lollipop bouquet to secure the arrangement and add an extra decorative element. If desired, you can also attach small gift tags or personalized messages to each lollipop for a special touch.
Step 6: Trim and Shape
Using scissors, trim any excess floral foam that may be visible above the container’s rim. Shape the bouquet by adjusting the angle of individual lollipops for a polished and professional appearance.
Step 7: Display and Enjoy!
Your DIY Lollipop Bouquet is now ready to steal the show! Display it as a centerpiece at parties, events, or family gatherings. Alternatively, present it as a sweet and stylish gift that is sure to bring a smile to anyone’s face.
Whether you’re celebrating a birthday, hosting a baby shower, or simply looking for a delightful gesture, this DIY Lollipop Bouquet is a charming and customizable way to share the sweetness of Yummy Lix Lollipops. Get creative, experiment with colors, and enjoy the joyous reactions as your masterpiece takes center stage!
Contact CIMA Confections at (562)926-6800 today or visit us online for our entire catalog of Yummy Lix Lollipops for your next party!